


CM-BS03 กล้องวงจรปิดแบตเตอรี่ กันน้ำพร้อมแผงโซลาร์เซลล์ ละเอียด 2MP WIFI
Product Description
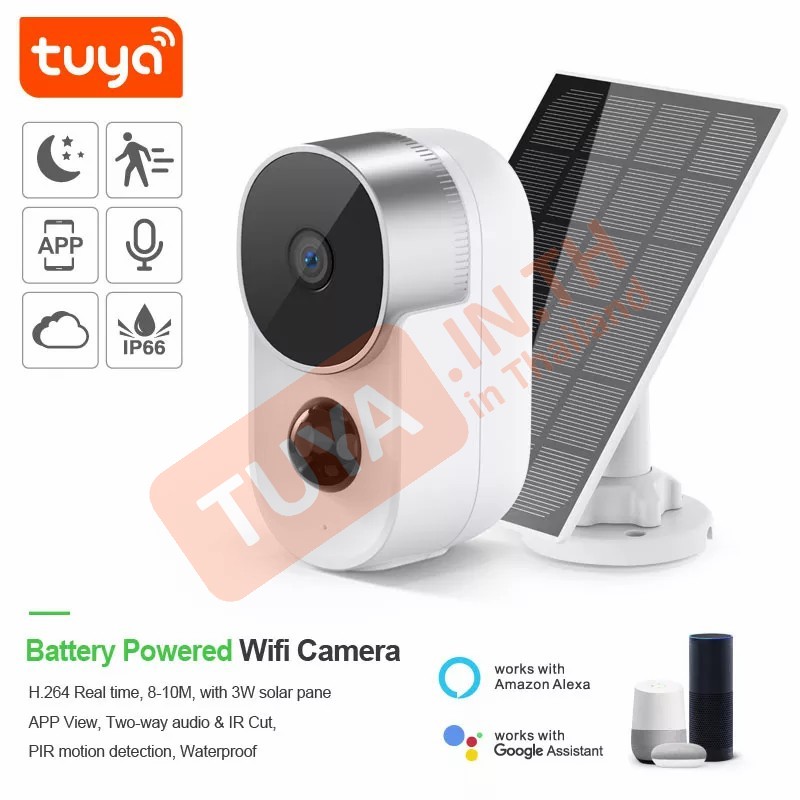
CM-BS03 กล้องวงจรปิดแบตเตอรี่ กันน้ำพร้อมแผงโซลาร์เซลล์ ละเอียด 2MP WIFI
คู่มือวีดีโอแนะนำการใช้งาน : https://youtu.be/_eWVDyDVdj8
|
|
|
|
model
number |
CM-BS03 |
|
special
features |
waterproof
/ waterproof |
|
Sensor |
CMOS |
|
style |
solar
camera |
|
function |
2-Way
Audio |
|
video
compression format |
H.264 |
|
data
storage options |
Memory
Card |
|
application |
outdoor |
|
support
custom |
online
technical support |
|
APP
Name |
TuyaSmart |
|
standard
lens |
4mm |
|
H.264
Real Time |
yes |
|
Night
Vision Distance |
10M; |
|
Integrated
power supply |
5V,
1A |
|
special
features |
waterproof
/ waterproof |

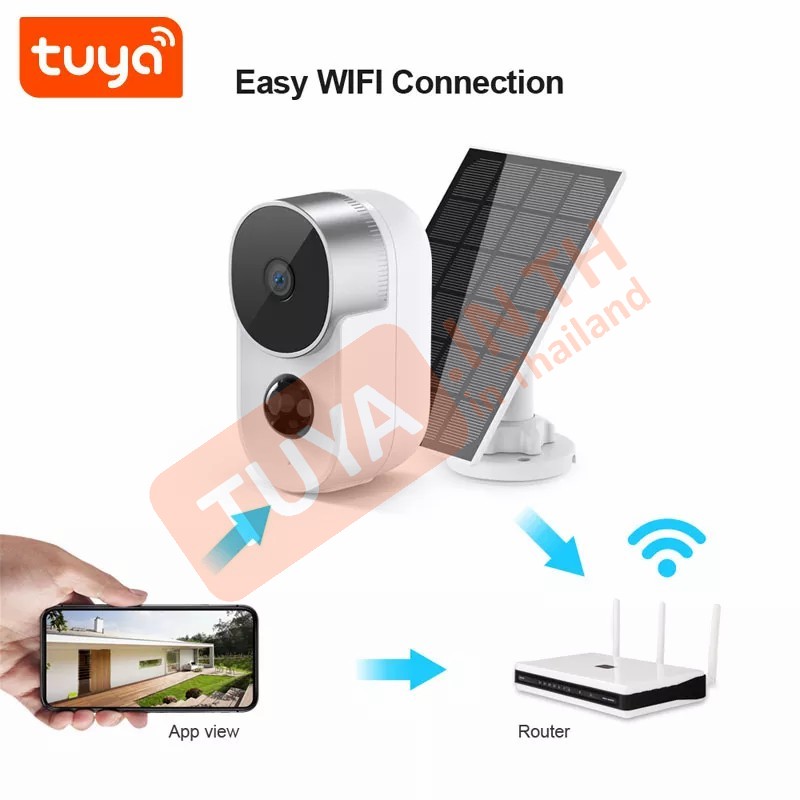

รองรับการเชื่อมต่อกับ


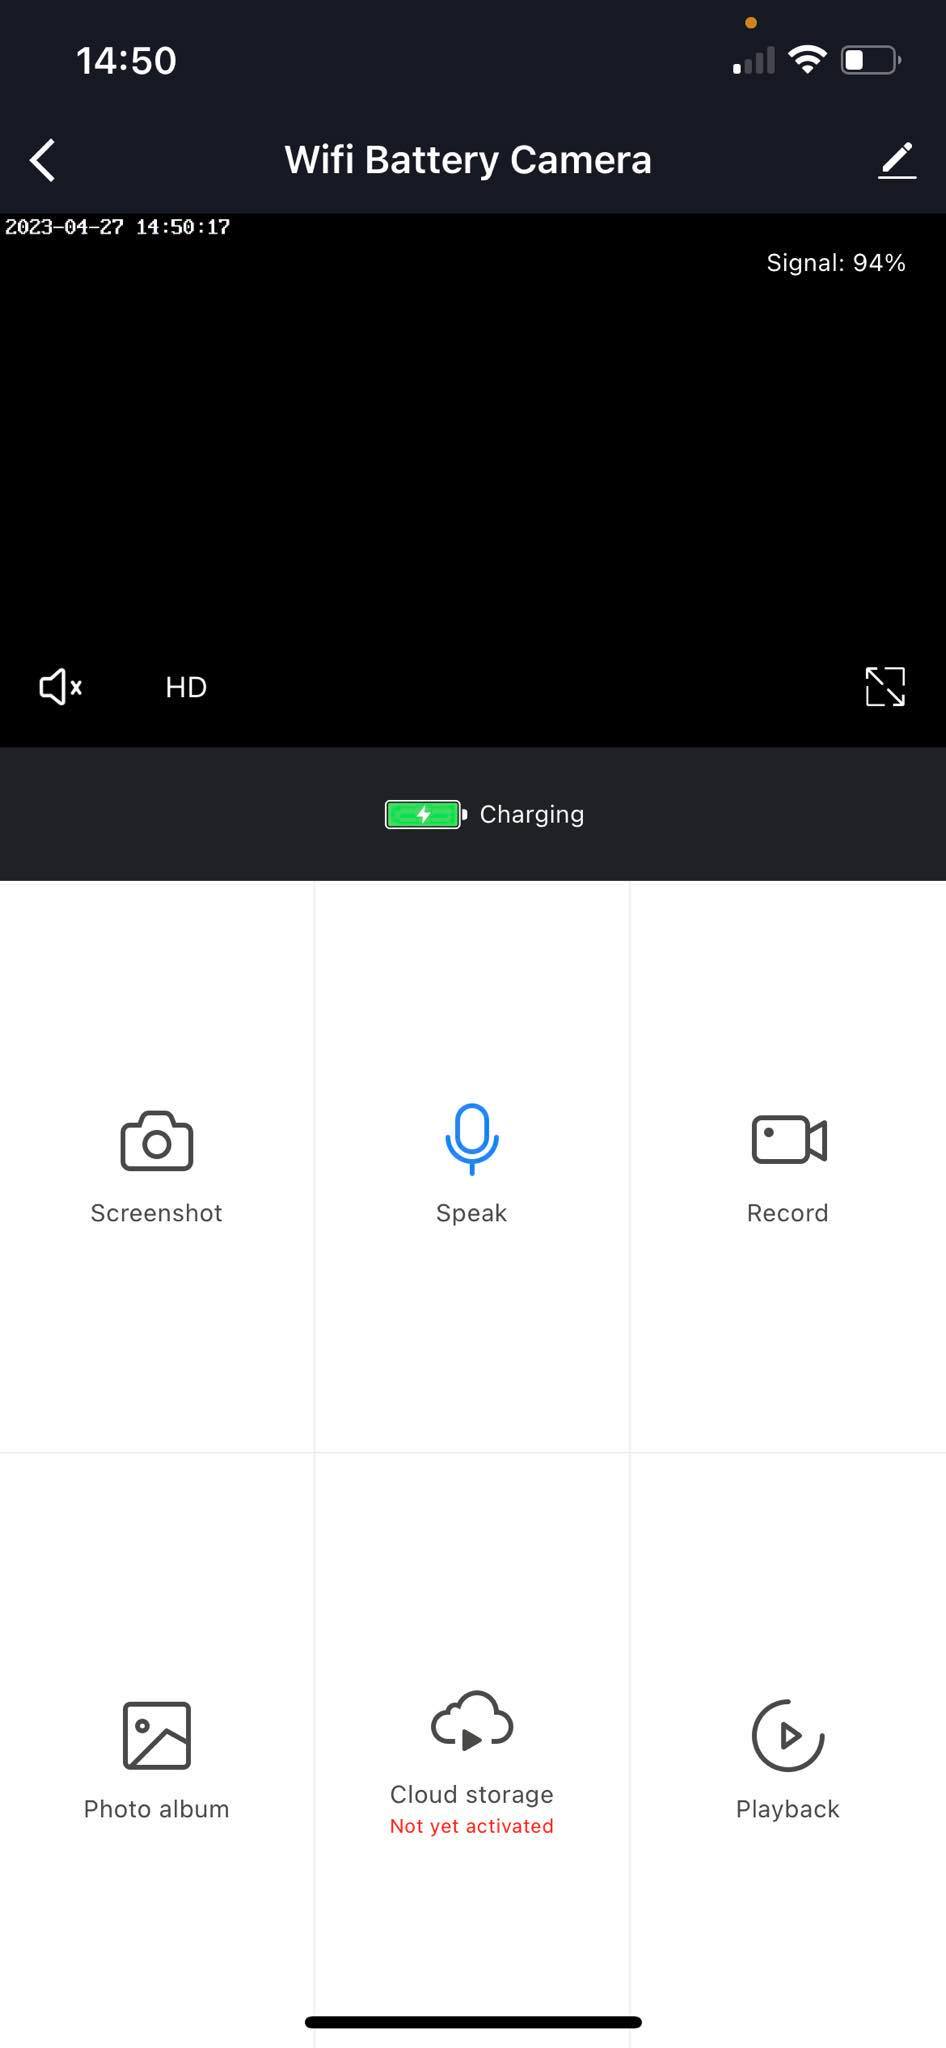
| ฟังก์ชั่นในหน้าหลัก (MAIN PAGE FUNCTION) | |
|---|---|
| Screenshot | |
| Speak | |
| Record | on or off |
| Photo album | |
| Cloud Stronge | |
| Playback | Date |
| Record | |
| Screenshot | |
| ฟังก์ชั่นการตั้งค่าในส่วน SETTINGS |
||
|---|---|---|
| Third Party Supported | Amazon echo | |
| Google Home | ||
| Basic Function setting | Flip Screen | |
| Time Watermark | ||
| IR Night Vision | Auto / off / On | |
| Detection alarm setting | Human Body Filtering | On / Off |
| PIR | Off | |
| Low | ||
| Medium | ||
| High | ||
| On | ||
| Power Management Setting | Set the low battery alarm threshold | |
| Storage Setting | Total Capacity | |
| Used | ||
| Remaining Capacity | ||
รองรับการเชื่อมต่อกับ
| IF | THEN | ||||
|---|---|---|---|---|---|
| Alarm Report | Alarm Report | ✓ | Vision Flip | On / off | ✓ |
| Night Vision | Auto / Off / On | ✓ | OSD Watermark | On / off | ✓ |
| Power supply Mode | Baterry Powerd | ✕ | Night Vision | Auto / Off / On | ✓ |
| AC Power Supplied | ✓ | Format Memory Card | On / off | ✕ | |
| PIR Switch and Sensitivity | Off / Low / Medium / High / On | ✓ | Device State | Waking State | ✕ |
| Custom Alarm | 0 / 1 | ✕ | Dormant State | ✕ | |
| PIR Switch and Sensitivity | Off / Low / Medium / High / On | ✓ | |||
Sound
Step Reset เสียง : Reset
Step 1 เสียงก่อนตั้งค่า : Waitfor wifi config
Step 2 เสียงหลังจาก Scan QR เสร็จ : Connect rounter
Step 3 ต่อด้วยเสียง : Connect internet
Step 4 เชื่อมต่อเสร็จ เสียง : Add device success
สินค้าที่คล้ายกัน


